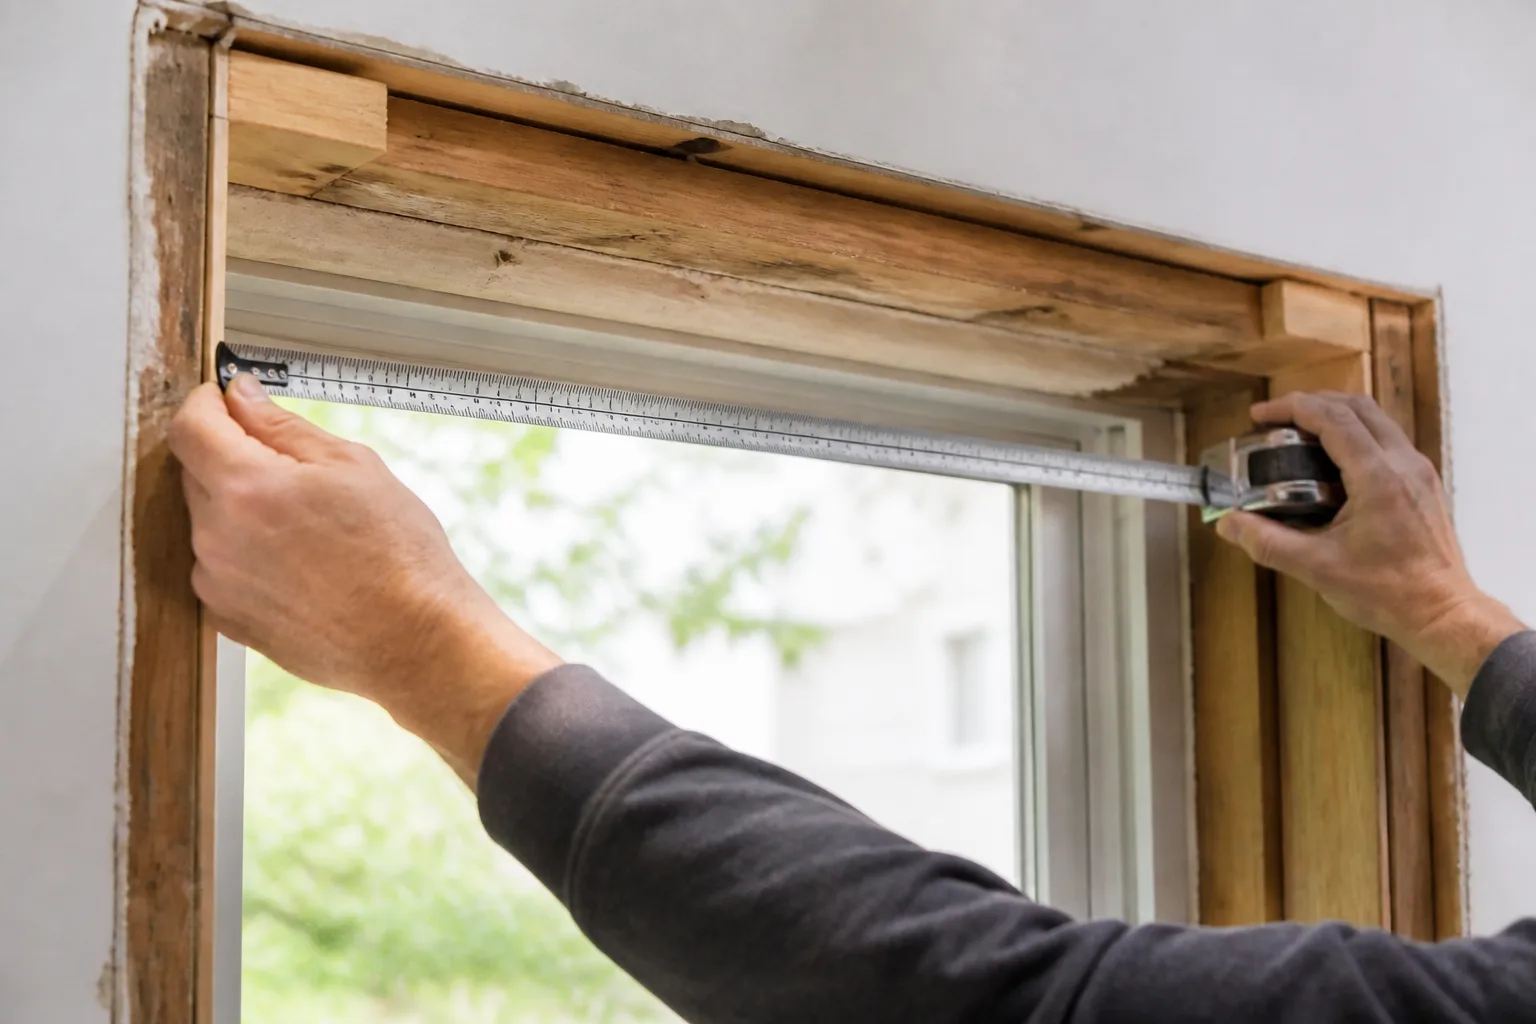
Label every opening first
Use an opening ID on interior photos, exterior photos, measurements, quote lines and delivery labels. Do not rely on room names alone when several windows look alike.
Measure width and height in several places
Record width at the top, middle and bottom and height at the left, center and right. Keep the actual readings; do not silently average or round them.
Document frame depth and conditions
Photograph the sill, head, jambs, trim, exterior cladding, interior return, obstructions, rot, water staining and accessible fastening surfaces.
Name the dimension type
State whether the numbers describe the rough opening, existing frame, daylight opening or desired manufacturing size. These terms are not interchangeable.
Measuring custom windows and choosing how they open
Plan the view, ventilation and operating space together. A window schedule should identify both the opening dimensions and the operation required in each room.
Give each opening an identity
Assign an opening ID and room name before collecting measurements. Record wall opening width and height at multiple locations, wall depth and the existing frame condition. State whether the measurements describe the structural opening, existing frame or finished interior opening. Mixing those conventions can produce a window that does not match the intended installation.
For several adjacent windows, add an elevation showing how their heads, sills and vertical frame lines should align. The outside frame size and the visible glass size are different, so compare the proposed profiles as well as the overall dimensions.
Select operation by use and clearance
The S.45 configuration examples show fixed glazing, inward and outward opening arrangements, tilt-and-turn operation, hopper and awning formats, and combined fixed/operable layouts. They illustrate ways to organize an opening; final availability depends on the selected model and configuration.
- A fixed window provides glazing without an opening sash. Identify how ventilation and cleaning will be handled.
- A side-hinged window needs clearance in the direction it opens. Show adjacent walls, landscaping and window treatments.
- An awning or hopper arrangement needs space for the sash movement and access to the handle.
- A tilt-and-turn window needs room for each intended operating mode, including the inward swing.
Keep frame, panel and rough opening dimensions separate
The S.45 fixed-frame section identifies the glass, frame, glazing components and shim space. It demonstrates why the wall opening is not the glass size. Use the installation clearance specified for the selected assembly when preparing the final order. Do not carry a clearance shown on one model into another window family.
Document the installation condition
Record the substrate, exterior cladding, interior returns and the relationship between the sill and surrounding finishes. Include photographs of damaged or uneven conditions. Coordinate flashing, drainage and frame support with the installer before final sizing, especially where a replacement changes the existing frame depth.
Build a useful window schedule
For each opening, list the ID, quantity, room, operation, field dimensions, frame material, finish and glass preferences. Add required performance criteria and any need for matching adjacent profiles. Identify project-specific egress, safety-glazing or impact requirements for professional review. The final quote should return the confirmed frame size and operation against the same opening ID.
Explore the right system
Turn the guide into a real opening schedule.
Keep every dimension, option, pressure, document, and delivery note connected to the same opening ID.
Start the configurationQuestions about this topic
Should I automatically deduct from the smallest opening measurement?
No universal deduction applies to every frame and installation. Use preliminary measurements for quoting, then follow the selected system and professional field verification for final order size.