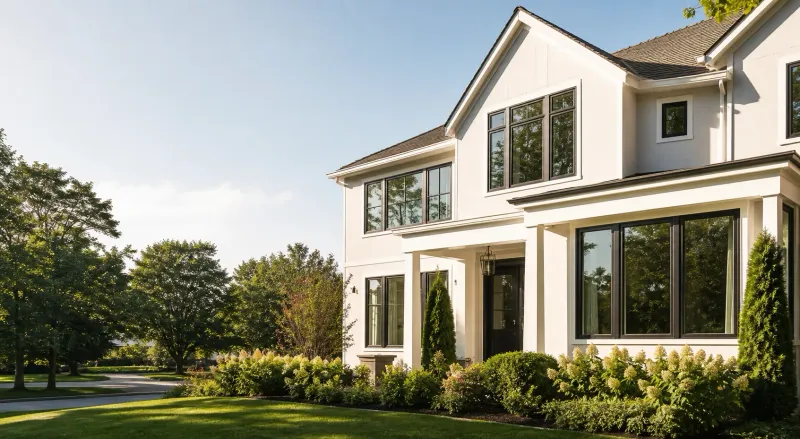
Windows for Townhome Developments
Start with units, elevations and phases
Townhome developments often repeat a floor plan while changing the exterior elevation, end-unit condition or buyer selections. Build the window schedule around the actual unit and elevation identifiers. Distinguish interior units, end units and any different floor or roof conditions.
Send the current plans and elevations with the schedule. Identify the drawing revision and the buildings included in the pricing request. Keep model-home features and buyer upgrades separate from the base production package so the same model name does not hide different quantities or configurations.
Keep repeated openings aligned
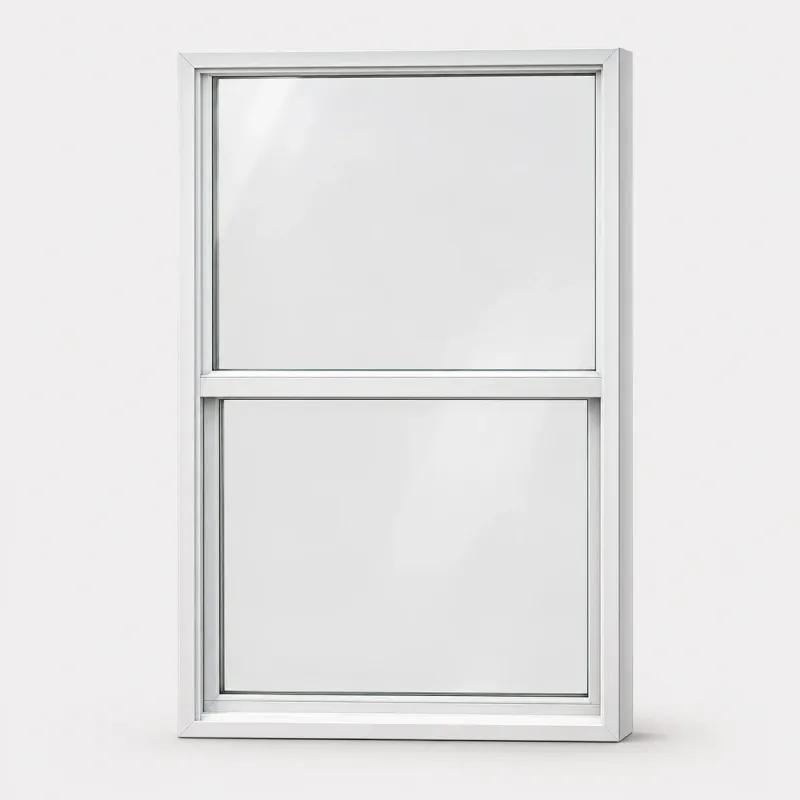
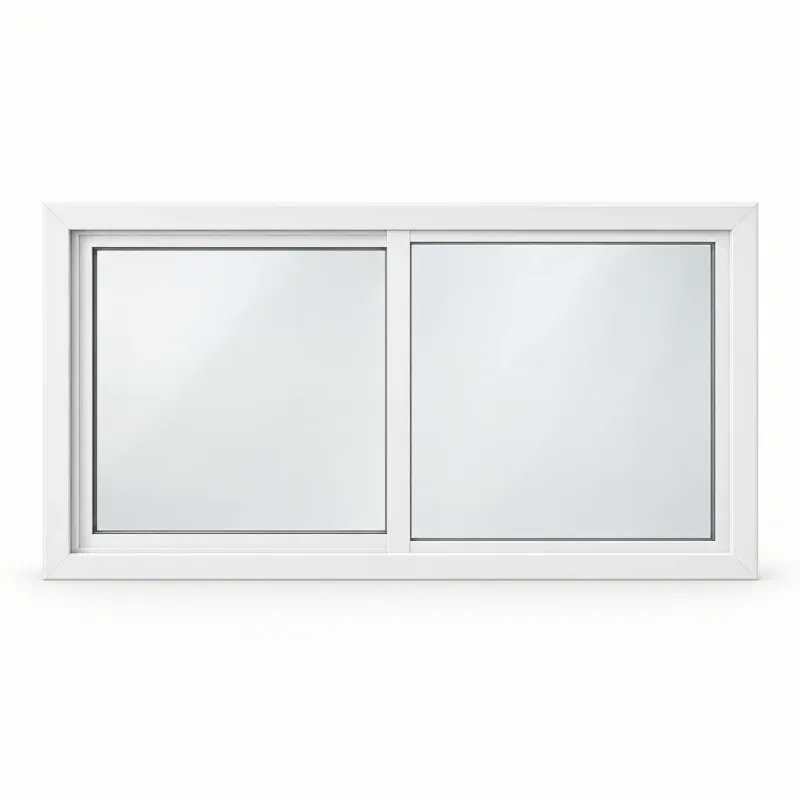
Use opening marks that remain consistent across the project documents, quote and receiving plan. For each mark, record the operation, finished dimensions, frame material, glass, finish, screens and hardware. Show which buildings and units use the same configuration.
Treat a changed elevation as a revision to review, even if the overall unit count stays the same. A different roof line, balcony or exterior finish can alter the opening arrangement or surrounding installation condition. The revised schedule should show what changed before a release is approved.
Plan privacy, daylight and ventilation by location
Street-facing rooms, rear living areas and closely spaced neighboring buildings can have different needs for daylight, ventilation and privacy. Identify where clear, obscure or other glass selections are requested and keep those choices tied to the opening mark.
Compare operable and fixed units as part of the elevation. Review exterior obstructions and hardware access for the selected operation. The project professional should confirm applicable clear-opening, safety-glazing and performance requirements for the exact building and configuration rather than relying on a generic window category.
Coordinate the wall and finish interfaces
Provide head, jamb and sill details for the selected wall construction. Identify cladding changes, opening depths, water-control layers and interior finish conditions that affect the frame. Clarify responsibilities for flashing, anchorage, sealants, trim and final opening verification.
A common window model across the development does not guarantee that every surrounding detail is identical. Record any different substrate, exterior finish or exposed condition by building or elevation. Review those differences with the design and installation teams before manufacture.
Manage finish choices without losing the base scope
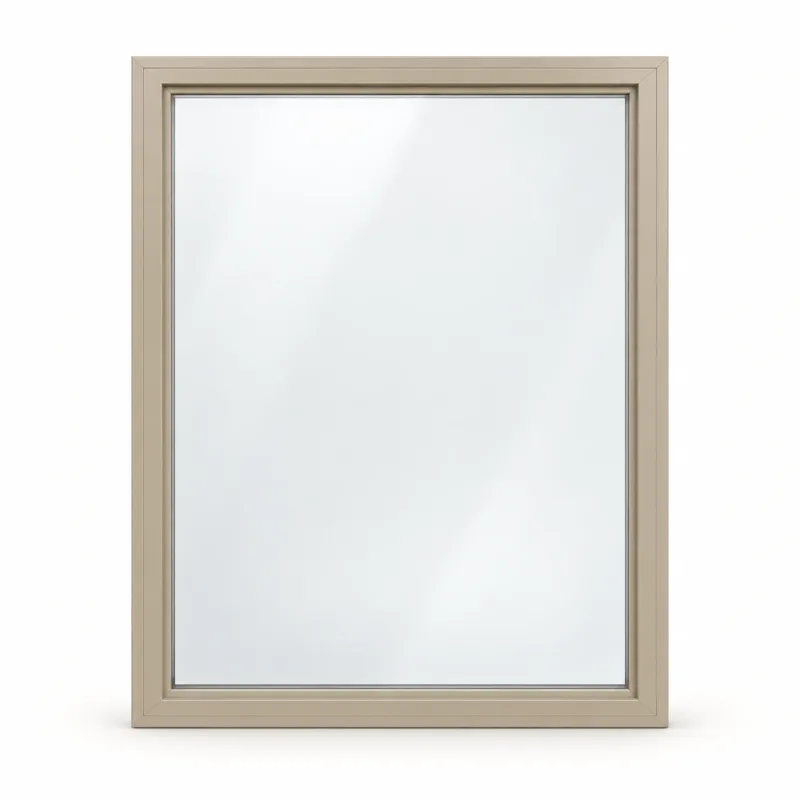
A finish schedule should identify the product family and coating or finish name, not just a broad description such as dark or white. Use the online color circles to carry a requested finish into the quote. Screen previews remain illustrative and physical finish confirmation is required before ordering.
Where buyer options are offered, separate the base package from each upgrade. Keep the opening marks and quantities intact so the effect of a different glass, finish or operation can be compared against the same scope. Avoid releasing a mixed selection from an outdated spreadsheet.
Price the package at the right level of detail
Published replacement-window rates support early base budgeting. Supported storm-window configurations can be calculated from their verified size and option rules. A townhome package still needs a written review of the actual opening schedule, options, packaging and delivery requirements before a complete project price is confirmed.
Identify which parts of the design are fixed and which are still being developed. Ask for clearly separated alternates when evaluating another operation, frame or glass selection. An early allowance should not be mistaken for approval of final manufacturing dimensions or a confirmed delivery commitment.
Release and receive by the installation sequence
Include the delivery ZIP, intended phases, available unloading equipment and storage constraints. State whether units should be grouped by building or installation release. Distinguish the requested installation date from the date materials need to arrive on site.
Before production, confirm the authorized approval contact and the final schedule. At receiving, compare labels and quantities with the approved release. Preserve the relationship between each unit, opening mark and building so the installer can work from the same record used for procurement.
What a useful takeoff request contains
Upload the plan set, elevations, window schedule, relevant details and any current materials list. Include the building or unit count covered by the request, revision information, project location, pricing deadline and any known performance criteria.
If the drawings are still being revised, identify the unresolved items. We can review the supplied scope and request the missing information. The final written approval should record the dimensions, configurations, glass, finishes and delivery conditions that will govern the released package.